Control Panel
- Accessing the Control Panel
- Navigation Structure
- Content Management
- Media Library
- System Settings
- Customizing the Control Panel
- User Preferences
- Keyboard Shortcuts
Accessing the Control Panel
By default, the control panel is available at /cms on your domain. You can access it by navigating to:
https://your-domain.com/cms
The path can be customized in your configuration if needed:
config/inspirecms.php
'admin' => [
    'path' => 'admin', // Changes the path from /cms to /admin
    // other settings...
],
Navigation Structure
The control panel is organized into several main sections:
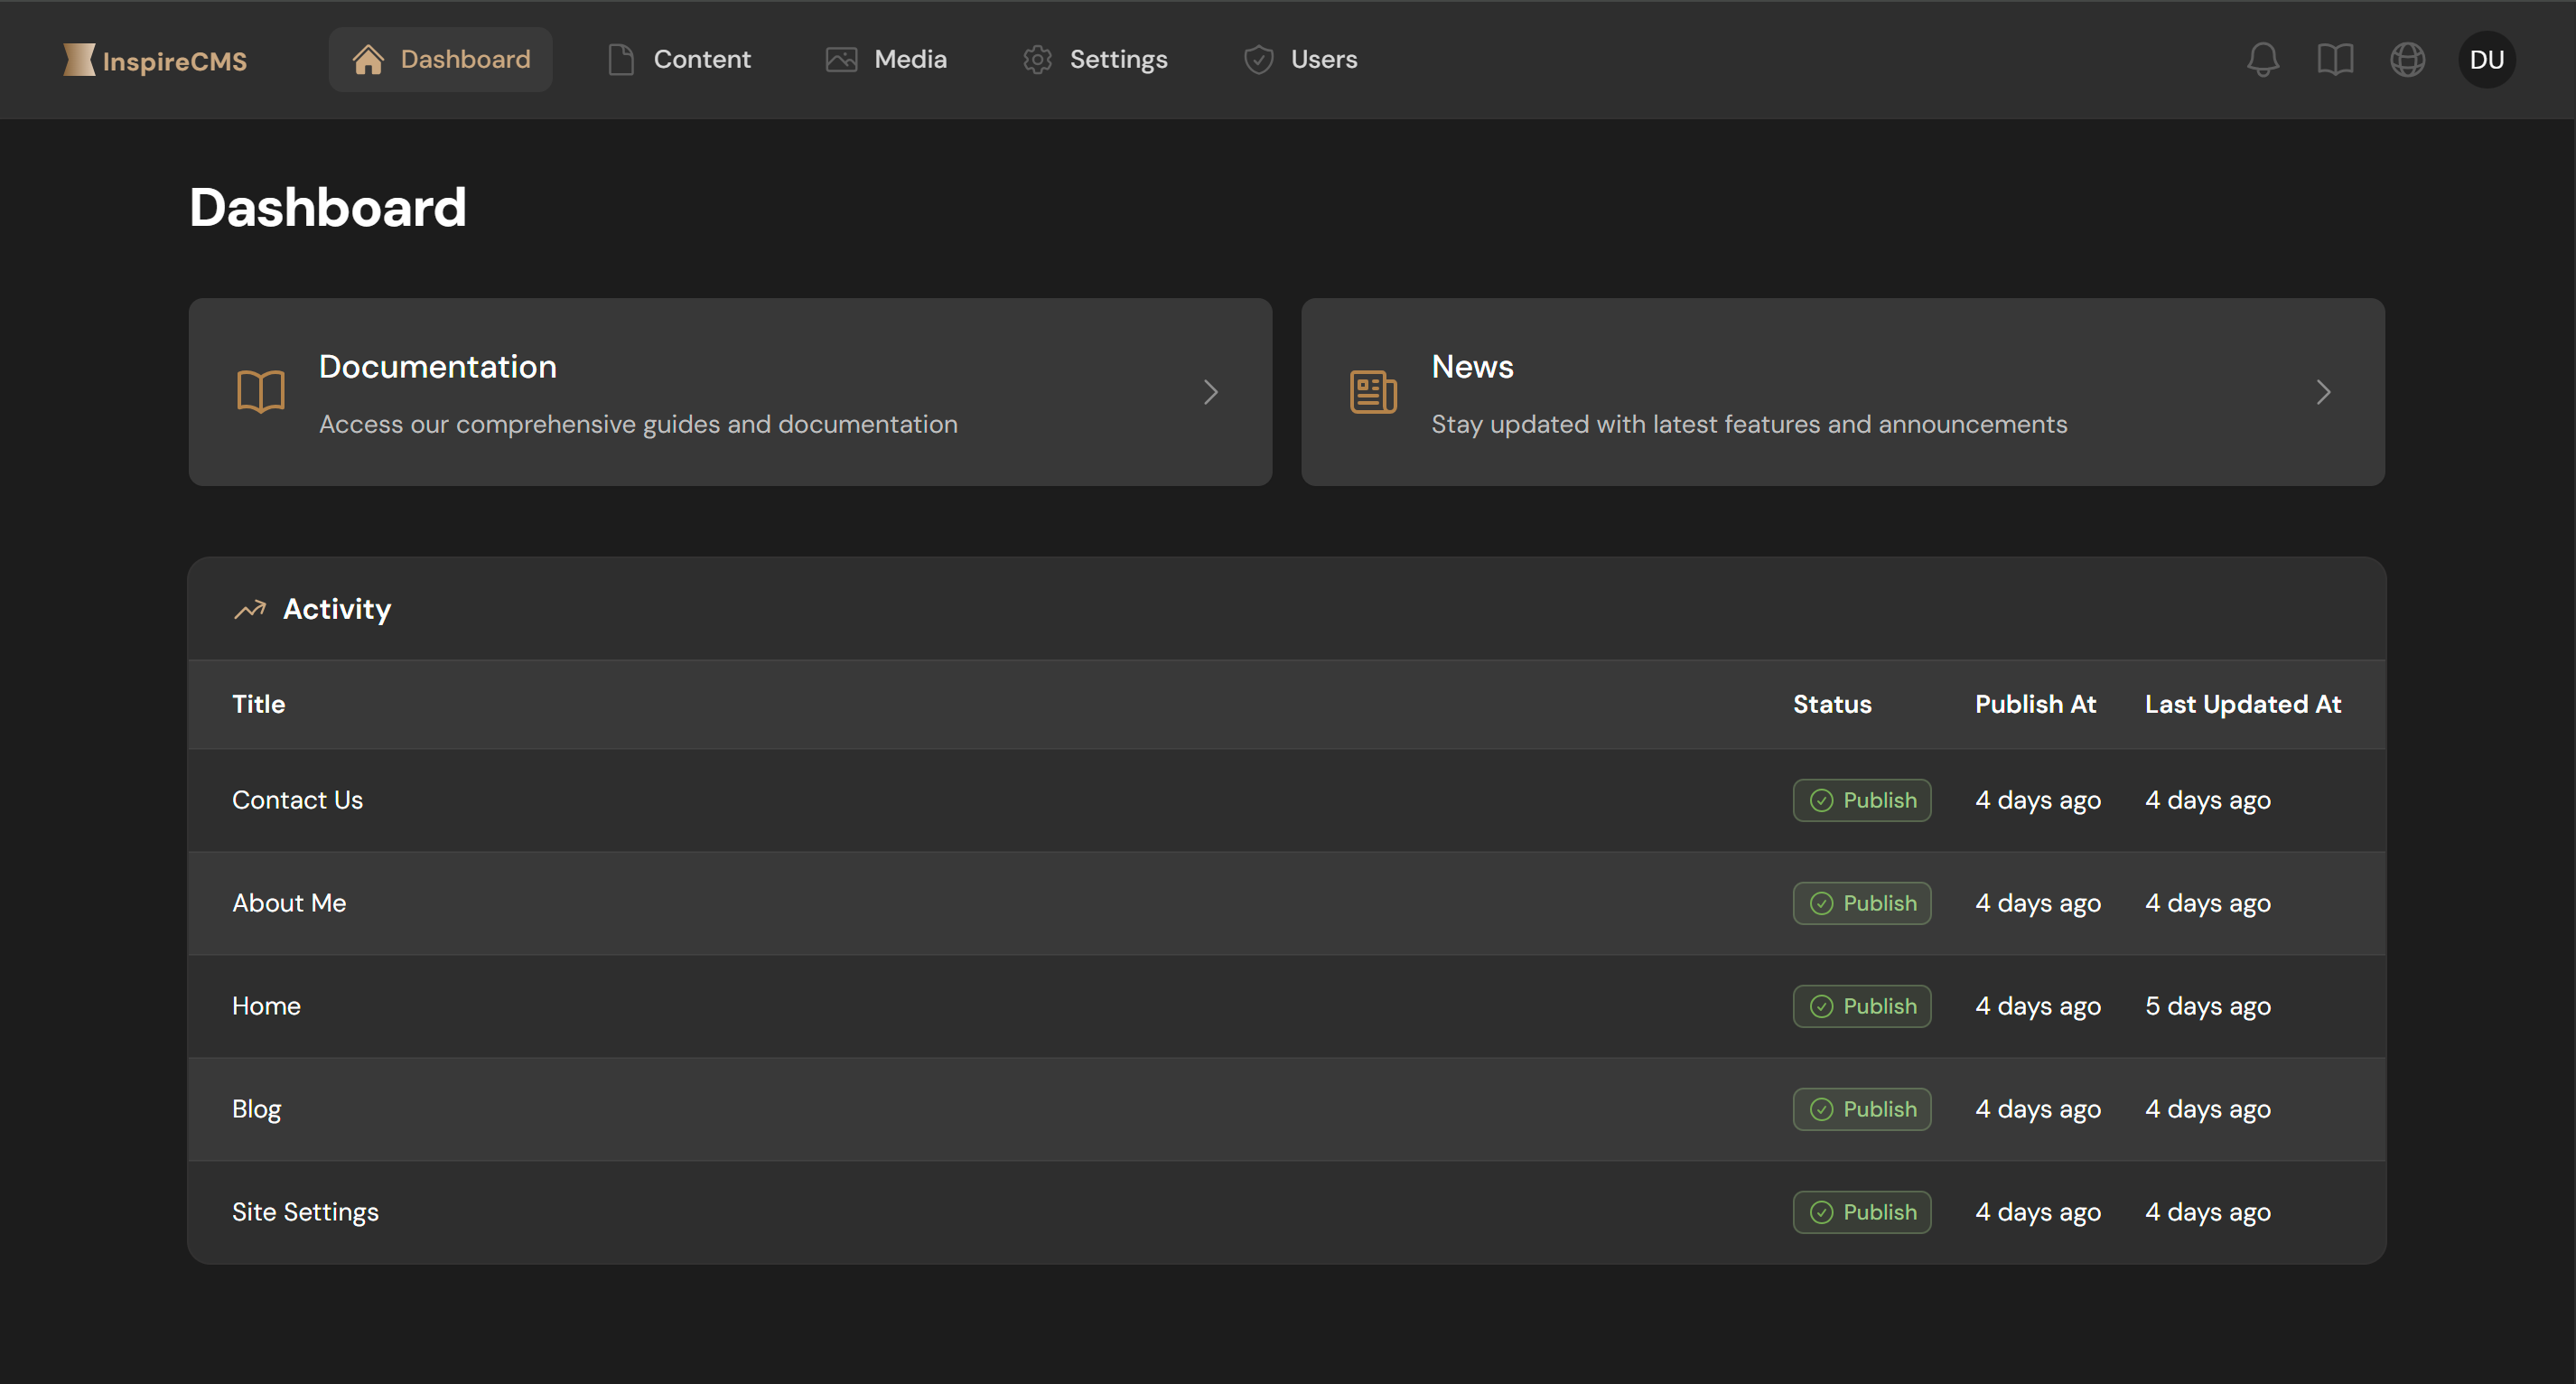
- Content: Manage pages, blog posts, and other content types
- Media: Upload and organize images, documents, and other media
- Settings: Configure system settings, templates, and site options
- Users: Manage user accounts and permissions
Content Management
Content List View
The Content section lists all your content items with filtering and search capabilities:
- Filter by status (draft, published, unpublish)
- Search content by keyword
- Bulk operations for multiple items
Content Editor
The content editor includes:
- Media Integration: Insert and manage media within content
- Custom Fields: Input fields based on your defined content types
- SEO Settings: Meta title, description, and other optimization options
- Versioning: Manage content revisions and history
- Publishing Controls: Schedule content publication and set status
Media Library
The Media Library provides tools for managing digital assets:
- File Browser: View and organize media in folders
- Upload Interface: Drag-and-drop uploading of multiple files
- Image Editor: Basic editing capabilities for images
- Metadata Management: View and edit file metadata
- Usage Tracking: See where media is being used across the site
System Settings
The Settings section includes:
- Document Types: Configure content type structures
- Customer Fields: Define custom fields for document type
- Template Management: Create and edit templates
- Navigation: Manage site menus and navigation structure
- Languages: Configure multilingual support
- Import/Export: Tools for data migration
Customizing the Control Panel
Branding
You can customize the appearance of the control panel through the configuration file:
config/inspirecms.php
'admin' => [
    'brand' => [
        'name' => 'Your Site Name',
        'logo' => fn () => 'path/to/your-logo.svg',
				'logo_title' => 'Your Site Name',
				'logo_show_text' => true,
        'favicon' => fn () => 'path/to/favicon.ico', // Optional
    ],
],
The control panel automatically adapts to these branding settings, giving your admin area a custom look that matches your site's identity.
Adding Custom Resources
You can extend the control panel with your own resources:
config/inspirecms.php
'admin' => [
    // Existing resources...
    'resources' => [
        'content' => FilamentResources\ContentResource::class,
        // Add your custom resource
        'products' => App\Filament\Resources\ProductResource::class,
    ],
],
Adding Custom Pages
You can add custom pages to the control panel:
config/inspirecms.php
'admin' => [
    // Existing pages...
    'pages' => [
        'dashboard' => FilamentPages\Dashboard::class,
        // Add your custom page
        'analytics' => App\Filament\Pages\Analytics::class,
    ],
],
Control Panel Appearance
You can fully customize the control panel's theme by overriding the default CmsPanelProvider. This allows you to change colors, fonts, and other visual elements to match your brand.
Creating a Custom Panel Provider
First, create a custom provider class that extends the base CmsPanelProvider:
<?php

namespace App\Providers;

use SolutionForest\InspireCms\CmsPanelProvider;
use Filament\Panel;

class CustomCmsPanelProvider extends CmsPanelProvider
{
    protected function configureCmsPanel(Panel $panel)
    {
        return parent::configureCmsPanel($panel)
            ->colors([
                'primary' => '#6366f1',
                'secondary' => '#8b5cf6',
                'success' => '#10b981',
                'info' => '#06b6d4',
                'warning' => '#fbbf24',
                'danger' => '#f43f5e',
                'gray' => '#71717a',
            ])
            ->font('Poppins');
    }
}
Registering Your Custom Provider
Next, register your custom provider in bootstrap/providers.php:
<?php

return [
	App\Providers\CustomCmsPanelProvider::class,
	// SolutionForest\InspireCms\CmsPanelProvider::class,
		// Other providers...
];
For more advanced theme customization options, refer to the Filament Panels documentation.
Adding Custom Widgets
You can add custom widgets by extending your custom panel provider:
<?php

namespace App\Providers;

use SolutionForest\InspireCms\CmsPanelProvider;
use Filament\Panel;
use App\Filament\Widgets\AnalyticsWidget;
use SolutionForest\InspireCms\Filament\Widgets;

class CustomCmsPanelProvider extends CmsPanelProvider
{
    protected function configureCmsPanel(Panel $panel)
    {
        return parent::configureCmsPanel($panel)
            ->widgets([
                // Default widgets
                Widgets\CmsInfoWidget::class,
                Widgets\PageActivity::class,
                // Your custom widget
                AnalyticsWidget::class,
            ]);
    }
}
User Preferences
Users can customize their experience through the profile page:
- Personal Information: Update name, email, and profile picture
- Password Management: Change password and security settings
- Interface Preferences: Theme preferences and display options
Keyboard Shortcuts
The control panel supports various keyboard shortcuts for power users:
Ctrl+SorCmd+S: Save the current itemEsc: Close modals or cancel operations